Installation process
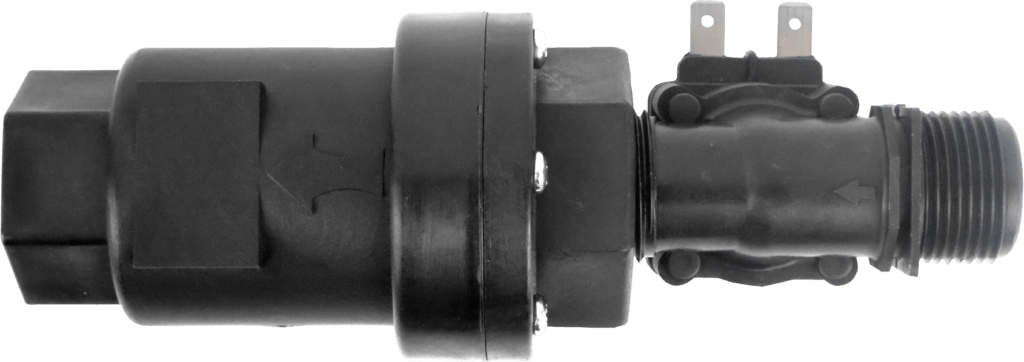
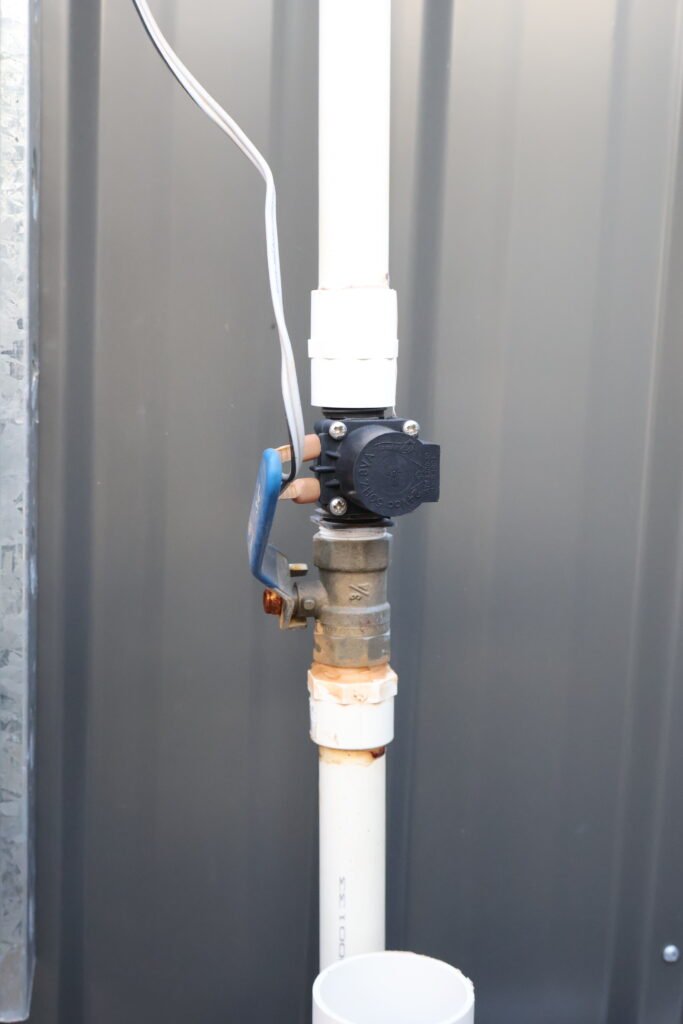
Install the solenoid and backflow prevention valves into the water supply/fill line, ensuring that both arrows are pointing in the direction of the water flow.
NOTE: It is recommended to have the water flow through the solenoid, then through the backflow prevention valve. This will increase the longevity of wearing parts.
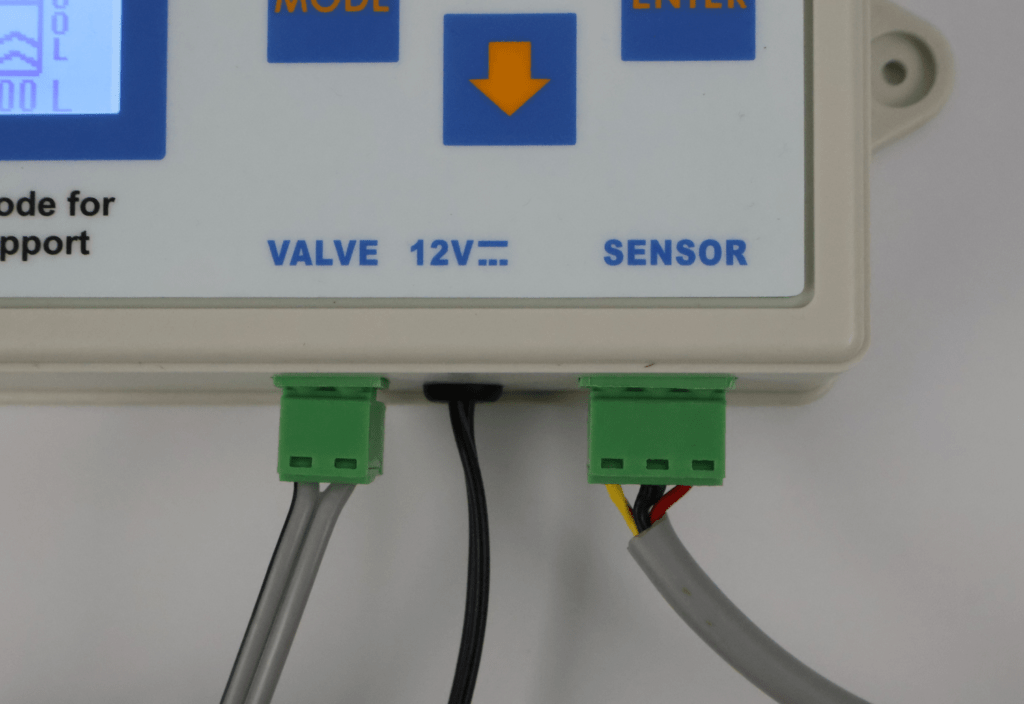
Connect the provided cable to the solenoid and control box.
Manual shutoff
A tap or two-way valve must be placed before the solenoid to enable the water source to be turned off at any time. Manual shutoff will be required for future servicing.
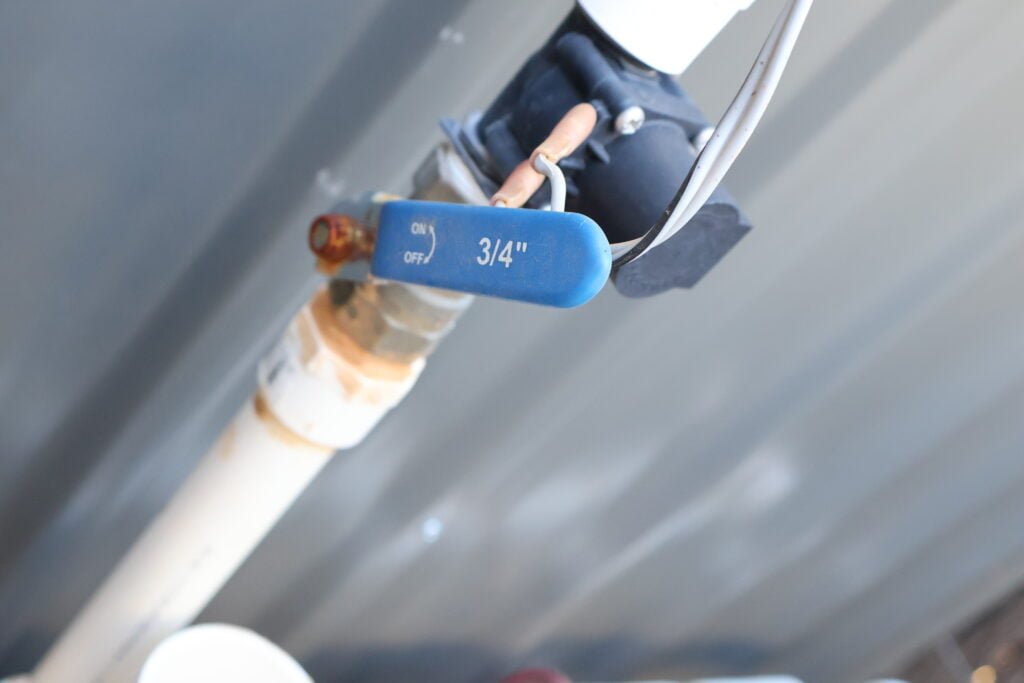
This is not provided with the Water Witch.
Line pressure
The solenoid requires an operating pressure within the range of 29 to 116 PSI (200 – 800kPa).
Install a pressure limiting valve on the water supply line if the onsite pressure is greater than 116 PSI / 800kPa.
The solenoid will not operate correctly if the line pressure is outside the specified operating range. Please ensure that onsite pressure is suitable for the correct operation of the solenoid before continuing.
Installation options
Choose from one of the following options for specific installation instructions for each configuration.
- Balance Line
- Filtration Return Line
Solenoid installed into balance line

Standard installation has the supply line positioned 20mm above the fill balance line without a physical connection.
- The air gap of at least 20mm is required to prevent contamination of the water source if the backflow prevention valve is not installed.
- The volume and speed of water flowing from the source must be limited to not overwhelm the balance line.
NOTE: 20mm (¾in) air gap may not be required where a Backflow Prevention Valve is installed. Check with your local Water Authority for specific requirements.
Solenoid installed into filtration return line
NOTE: This method must be approved in your local area. Check with your council or local water authority if you are unsure.

WARNING: If installing the solenoid using this method, the backflow prevention valve is mandatory to prevent contamination of the water source.
Additional considerations
- Depending on your solenoid, the actuation voltage may be different than the default output of 24V AC. If you need to use an alternative model of solenoid, see Configuring Solenoid Voltage Settings.
- If you are installing the Water Witch on a commercial pool, you will need to consider changes to the hardware. See How does a commercial installation differ from a residential pool?