NOTE: Before continuing, please ensure your pool or tank has been filled to the required level (or both in the case of infinity/negative edge).
Set sensor level
Steps
The sensor must first be set such that there is no cable between it and the end cap.

Turn on power to the control box.
Open the tap or two-way valve and ensure that water is available at site.
On the control box, press the MODE button until SET LEVEL is displayed.

Check that the display says ‘FILL’.
Loosen the gland on the top of the end cap and attach the cap firmly to the balance line.
Slowly lower the sensor by releasing cable until the display changes to ‘SCAN’.

Tighten the gland to hold the sensor in place.
Press the ENTER button to confirm.


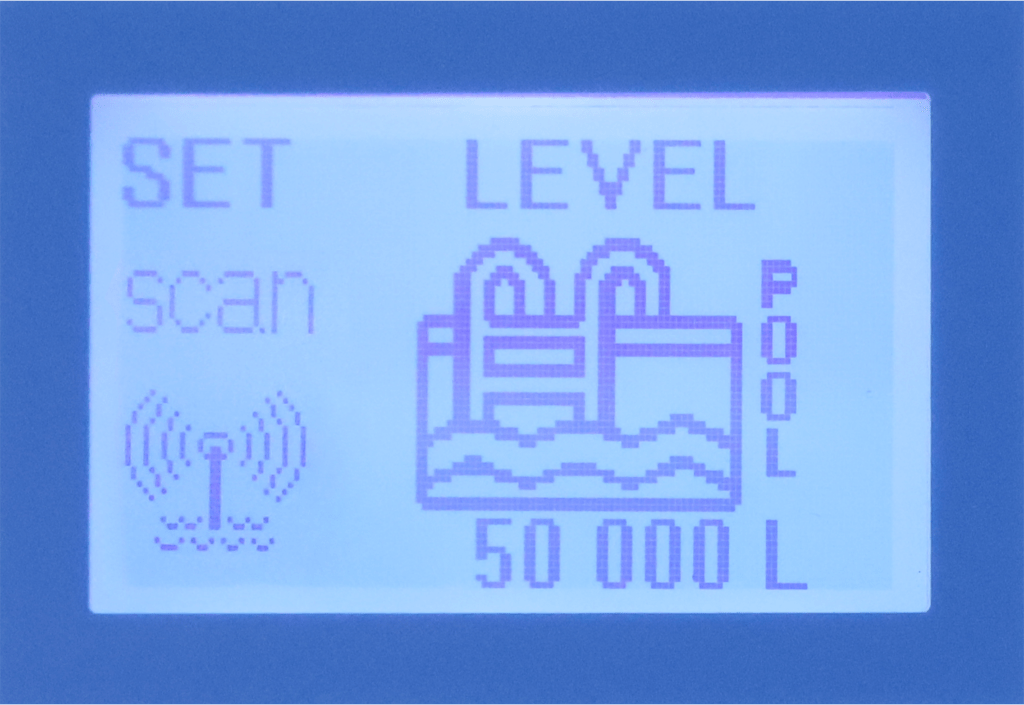
Setting tank type and volume
Steps
- On the control box, press the MODE button until SET TANK TYPE is displayed.
- Press the ↑ and ↓ buttons to select the most appropriate mode for your project. For most installations, this will be POOL.
- Press ENTER to confirm.
- Press the ↑ and ↓ buttons to adjust the volume of water for your project.
- Press ENTER to confirm.
Tank type operating modes
| Tank Type | Suitable Applications | Minimum Volume | Maximum Volume |
|---|---|---|---|
| Pool | Domestic or small commercial pools | 10,000L / 2,500G | 500,000L / 125,000G |
| Pump Out | Used when pumping water out of a tank/trough | N/A | N/A |
| Comm | Commercial pools and large projects | 100,000L / 25,000G | 5,000,000L / 1,250,000G |
| Other | Water features, ponds or holding tanks | 1,000L / 250G | 100,000L / 25,000G |
| Balance Tank | Balance tanks and infinity edge troughs attached to pools or water features | Tank 1,000L / 250G Pool 10,000L / 2,500G | 100,000L / 25,000G 500,000L / 125,000G |
| Spa | Spa or indoor heated pool | 1,000L / 250G | 50,000L / 12,500G |
NOTE: For balance tank installations, you will need to set the correct volume for both the main body of water and the trough.